Over my years as a real estate agent, I’ve listed many houses, and one thing I’ve learned is that preparation is everything when it comes to a successful sale. That’s why I swear by a solid pre-listing inspection. Having the home inspected early in the process is one of the best ways to catch and address any potential issues before they turn into unpleasant surprises for the seller or buyer. Trust me, when you get ahead of these details, the entire experience becomes so much smoother.
I always refer to my pre-listing home inspection checklist as my go-to tool when preparing a home for the market. It’s essentially a comprehensive to-do list, covering everything like structural issues and smaller details like worn areas or leaky faucets. It keeps us organized and ensures every task gets done before the house goes live. For example, focusing on repairing damaged screens or replacing outdated fixtures adds value to the property and boosts curb appeal, which translates to more buyer interest.
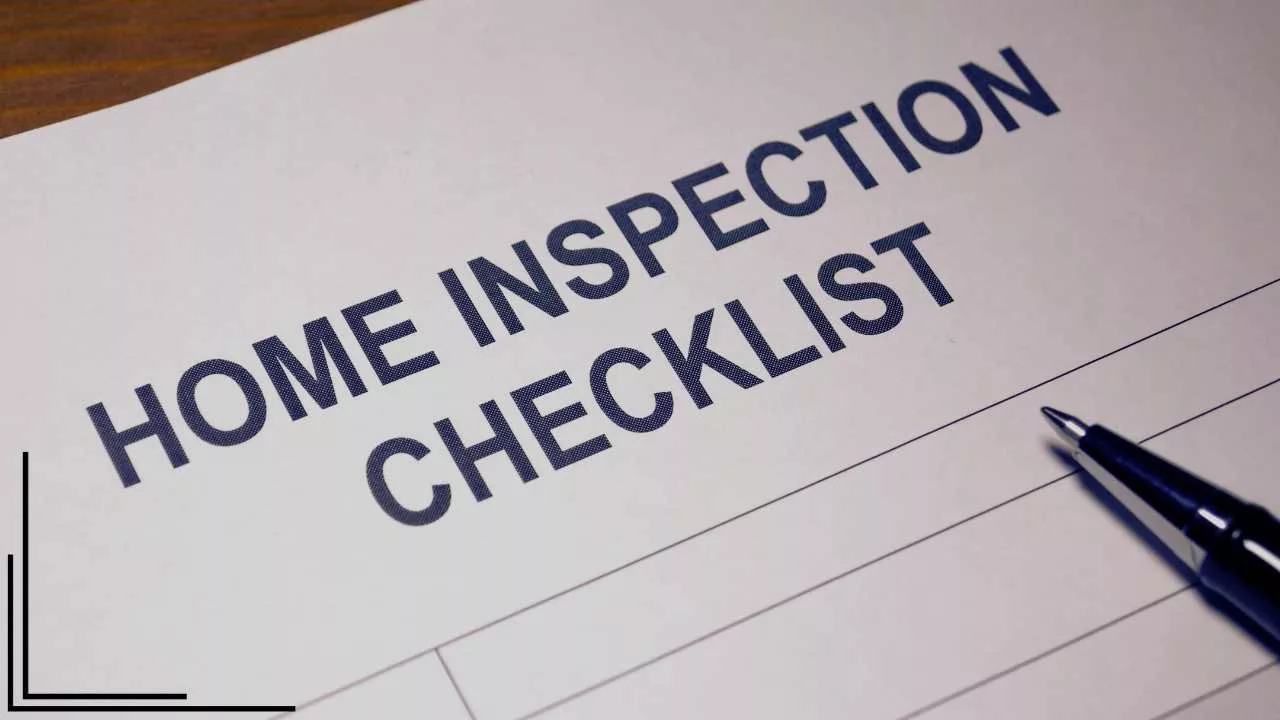
A pre-listing home inspection is a helpful step in the home selling process, making double sure a property is in great shape before it goes to market. It allows sellers to identify and resolve potential property issues, avoiding unpleasant surprises for buyers during the sale process. Address needed repairs, updating outdated fixtures, and improving the property’s condition so you’ll create a more compelling listing and attract potential buyers with confidence. Use this inspection checklist to prepare the property thoroughly for a professional home inspector and streamline the home sale.
Download Free Pre Listing Inspection Checklist
PDF | Excel | Google Sheets
A pre-sale inspection provides clarity, not just for me as the agent but also for the homeowner. They get a clear understanding of their property’s current condition, which makes it easier to decide which needed repairs to tackle upfront.
It’s also incredibly useful for setting the right listing price. If the home is in great shape after the inspection, we can justify a more competitive price. On the other hand, if there are areas that require attention, the homeowner isn’t blindsided during negotiations later. This can also be used for a rental property inspection.

1. Exterior
Enhancing the home’s curb appeal is key to creating a positive first impression.
Foundation and Structural Issues
- Inspect the foundation for visible cracks, settling, or uneven surfaces.
- Patch any holes in walls or repair signs of structural wear.
- Address sagging rooflines or any damaged beams.
Roof and Gutters
- Replace missing shingles or repair damaged ones.
- Clear out any gutters and downspouts to ensure proper drainage.
- Look for signs of moss, mold, or leaks on the roof.
Siding and Paint Appearance
- Examine the exterior for peeling paint, cracks, or damaged siding.
- Apply a fresh coat of paint if necessary to improve the home’s exterior.
- Wash the exterior to remove dirt and buildup.
Doors, Windows, and Screens
- Inspect doors for proper alignment and smooth operation.
- Fix broken or damaged screens on windows and entryways.
- Replace foggy or cracked windows and check for drafts.
Yard and Landscaping
- Pull weeds and trim overgrown bushes and trees away from the house.
- Fill in low spots in the yard to prevent water pooling near the foundation.
- Ensure pathways, fences, and gates are in working order and free of damage.
Driveway and Garage
- Repair cracks in concrete driveways or uneven paving.
- Verify the garage door opener works and the door is secure.


2. Interior
The interior should be clean, safe, and free of visible property issues.
Walls, Ceilings, and Floors
- Repair worn areas such as scratched floors or chipped tiles.
- Inspect for water stains, cracks, or paint damage on walls and ceilings.
- Touch up with a fresh coat of paint to cover scuffs or outdated colors.
Doors and Cabinet Handles
- Check the door appearance to ensure they open, close, and latch securely.
- Tighten loose cabinet handles or replace missing hardware.
Lighting and Electrical System
- Replace outdated fixtures and test all light bulbs for functionality.
- Verify the circuit breakers and GFCI outlets are working.
- Add or test smoke detectors and carbon monoxide detectors in all required locations for safety.
Bathrooms
- Replace shower heads and shower curtains if they’re stained or look dated.
- Inspect for leaky faucets, low water pressure, or poor drainage.
- Ensure all tiles, grout, and seals are in good condition with no mold or mildew issues.
Kitchen Appliances and Plumbing System
- Test appliances like the stove, refrigerator, and dishwasher for working order.
- Ensure sink drains properly and there are no leaks under the cabinets.
Basement or Attic (if applicable)
- Check for signs of water damage, proper ventilation, and sufficient insulation.
- Address any potential safety hazards, such as exposed wiring or unstable supports.

3. Utilities
Ensure the plumbing system, electrical system, and HVAC system are in good condition to satisfy inspectors and buyers.
Plumbing
- Inspect all pipes for rust, corrosion, or leaks.
- Confirm toilets, faucets, and showers are free of drips.
- Test the water heater to ensure it operates efficiently without signs of rust or cracking.
Electrical System
- Ensure the circuit breakers are up to code.
- Replace faulty wiring or exposed outlets.
- Test GFCI protected outlets in the kitchen and bathroom.
HVAC and Cooling Systems
- Clean ducts and replace filters in your heating, ventilation, and air conditioning systems.
- Confirm the HVAC operates smoothly without strange noise or lack of airflow.
Fireplace and Chimney
- Remove ash or debris from the fireplace.
- Ensure the chimney is clear of blockages and in good condition.


4. Documentation
Provide transparent and organized records to your buyers and their home inspectors.
- Gather receipts for any repairs or upgrades completed during the selling process.
- Include maintenance records for the roof, plumbing, and HVAC system.
- Prepare the property disclosure form with detailed information on prior issues.
- Offer user manuals for appliances like the water heater or HVAC.

5. Final Presentation
Make the property inviting for potential buyers and leave a lasting impression.
- Perform a deep clean, including carpets, grout, and hard-to-reach areas.
- Declutter personal items to allow buyers to envision themselves living in the house.
- Use furniture and accessories to stage the home while keeping decor neutral.
- Check all lighting to ensure the space is bright and welcoming.
- Pay attention to small details like fresh flowers, clean shower curtains, and polished mirrors.
Follow this pre-listing home inspection checklist so you, as real estate agents, can easily prepare a property for both home inspectors and buyers.
Tackling all tasks proactively guarantees a smoother selling process with fewer property issues arising during the inspection report. This approach enhances the property’s market appeal, assuring confidence in a standard home inspection and a successful sale.

Check Back for Updates
This checklist isn’t just helpful for me; it’s invaluable for the homeowner too. It provides them with transparency in what to expect and helps us present the house in its best light. When potential buyers walk through the home, they feel confident knowing it’s been cared for and inspected thoroughly.
A little extra effort upfront with a pre-listing inspection and a thoughtful checklist makes all the difference in the selling process—every single time.